


A client, who recently hired Lumiun to protect his network, asked us what he could do to prevent files stored on his computer from being accessed by other users on his internal network. He has an office and wants to know how to disable file sharing in Windows. So, follow the tip.
If you use Windows 10, access the article How to disable file sharing in Windows 10
- Make sure you don't need the shares. File and printer sharing allows files stored and printers installed on this computer to be accessed by other computers. Check that you really don't have, for example, a printer connected to your computer that is used by other people in the company.
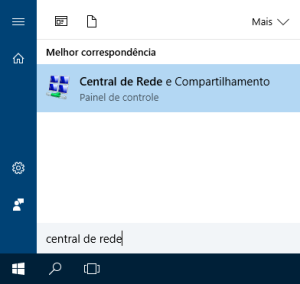
- Open the Start menu and search for “network center”. Click on the shortcut to net and sharing central.
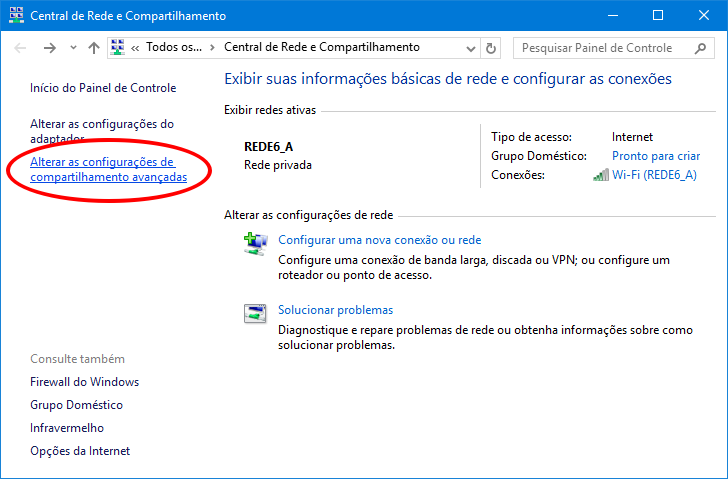
- In the Network and Sharing Center, click the Change advanced sharing settings .
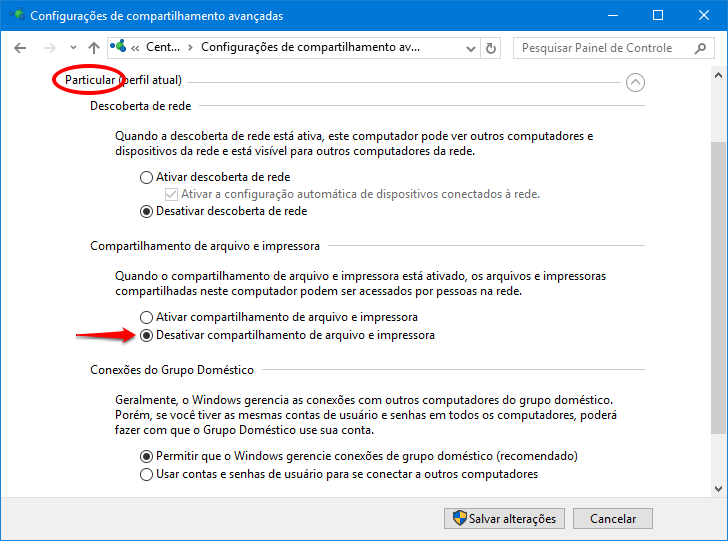
- In the “Advanced sharing settings” window, under the Private Turn off file and printer sharing option .
- Guest or Public profile Disable file and printer sharing option .
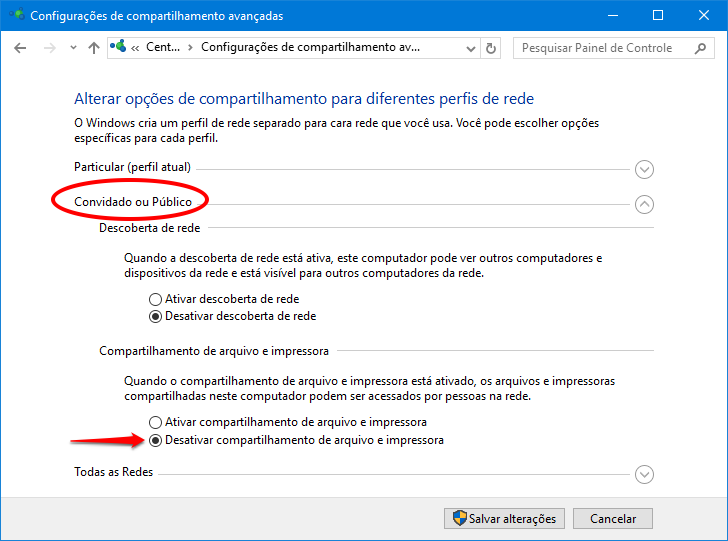
- Save changes button . Ready.

If you have any questions, we are at your disposal!


1 comment
Comments closed